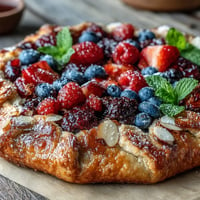
 Save
Save My grandmother swore that red velvet cake was invented by accident in a Southern kitchen, someone trying to make chocolate cake with limited cocoa. The first time I attempted it, I couldn't find the right shade of red and ended up with something closer to pink coral. Everyone still ate it, but I learned that day that the color matters as much as the chemistry.
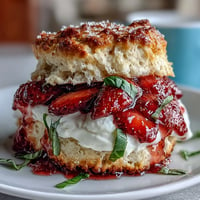
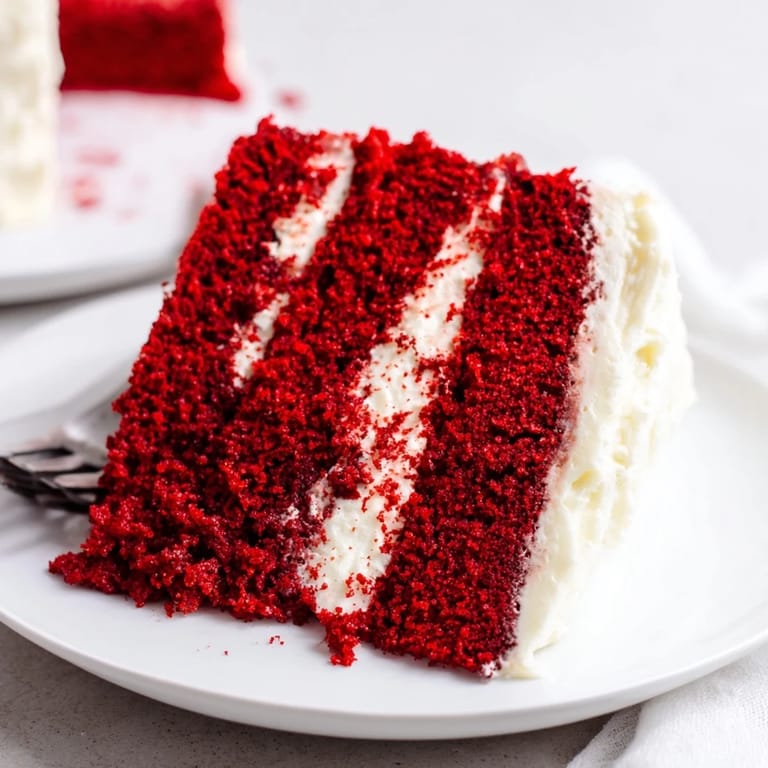
I made this for my sister's engagement party and watched my normally stoic father go back for three slices. The way the cream cheese frosting melts into your mouth changes something about how you feel about celebration desserts. It's not just pretty, it's genuinely unforgettable.
Ingredients
- 2 ½ cups all-purpose flour: The foundation of that signature tender crumb, don't skip the sifting step or you'll regret it later
- 2 tablespoons cocoa powder: Just enough for depth without overpowering the delicate flavor profile
- 1 teaspoon baking soda: Works with that vinegar to create the most beautiful rise
- ½ teaspoon salt: Balances sweetness and brings all flavors forward
- 1 ½ cups granulated sugar: Creates structure while sweetening, cream it properly with butter
- 1 cup unsalted butter: Room temperature is non-negotiable for proper aeration
- 2 large eggs: Also room temperature, they bind everything together
- 1 cup buttermilk: The secret to moisture and that characteristic tang
- 2 teaspoons vanilla extract: Use the good stuff, it makes a difference
- 1 teaspoon white vinegar: Reacts with baking soda for extra tenderness
- 1 ounce red food coloring: Gel coloring gives deeper color with less liquid
- ½ cup vegetable oil: Keeps the cake incredibly moist for days
- 8 ounces cream cheese: Cold cream cheese creates lumpy frosting, let it soften properly
- ½ cup unsalted butter: Softened, for the creamiest frosting texture
- 4 cups powdered sugar: Sifted, because nobody wants frosting with sugar lumps
Tired of Takeout? 🥡
Get 10 meals you can make faster than delivery arrives. Seriously.
One email. No spam. Unsubscribe anytime.
Instructions
- Set up your oven and pans:
- Preheat to 350°F and grease those cake pans like your life depends on it, then dust with flour for extra insurance
- Whisk your dry ingredients together:
- Sift flour, cocoa, baking soda, and salt into a medium bowl and give them a good whisk to incorporate air
- Cream butter and sugar:
- Beat them together until they're pale and fluffy, about 3-5 minutes, this creates the cake's structure
- Add eggs and flavor:
- Drop in eggs one at a time, then mix in oil, vanilla, and vinegar until everything's incorporated
- Create your red mixture:
- Whisk buttermilk and food coloring together until it looks like something from a chemistry lab
- Combine wet and dry:
- Add dry ingredients in three parts, alternating with buttermilk mixture, and stop mixing the second everything comes together
- Bake until perfect:
- Divide batter between pans and bake 28-30 minutes, until a toothpick comes out clean but the cake still feels slightly springy
- Cool completely:
- Let cakes rest in pans 10 minutes, then turn them onto racks to cool entirely before frosting
- Make the frosting:
- Beat cream cheese and butter until silky smooth, then gradually add powdered sugar and vanilla until it's fluffy and tastes like heaven
- Assemble your masterpiece:
- Spread frosting between layers, then coat the top and sides, and try not to eat it all while decorating
 Save
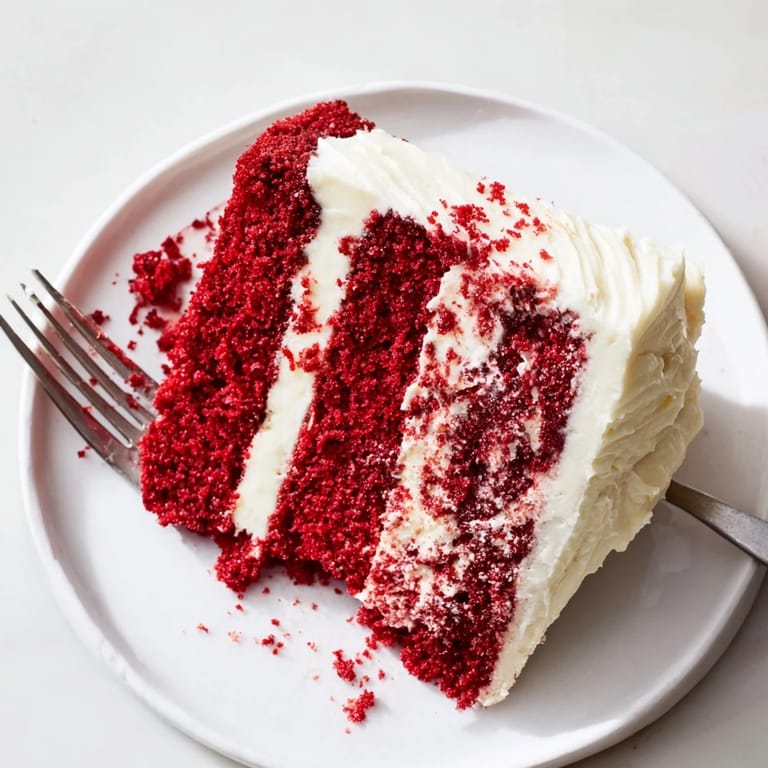
Save This cake showed up at every birthday growing up, and my mother would spend hours getting the frosting perfectly smooth. Now I understand why she bothered. It's worth the effort.
Making It Ahead
Wrap cooled cake layers tightly in plastic and freeze for up to a month. Thaw overnight in the refrigerator before frosting. The frosting can be made 2 days ahead and stored cold, then brought to room temperature and beaten again for fluffiness.
Getting That Perfect Red
Gel food coloring is worth the special trip. It delivers concentrated color without adding liquid, which can throw off your batter's chemistry. Start with less than you think you need, you can always add more but you can't take it back.
Serving And Storing
This cake actually tastes better on day two, when flavors have had time to deepen and the frosting has softened slightly into the crumb. Store it covered in the refrigerator, but bring slices to room temperature before serving for the best texture and flavor experience.
- Run your knife under hot water between slices for cleaner cuts
- A warm cake with cold frosting is a disaster waiting to happen
- This recipe doubles beautifully for a three-layer celebration cake
 Save
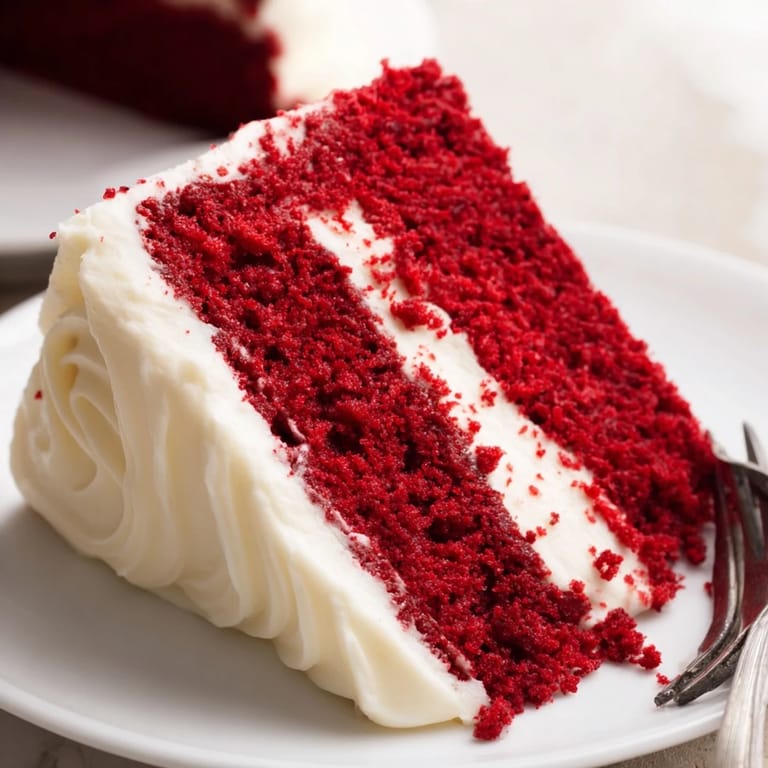
Save There's something magical about slicing into that red crumb and watching people's eyes light up. It's not just a cake, it's a memory in the making.
Recipe FAQs
- → What gives red velvet its distinct flavor?
The unique taste comes from the subtle combination of cocoa powder, buttermilk, and vinegar. The buttermilk provides tanginess while the cocoa adds depth without being overpowering.
- → Can I make red velvet ahead of time?
Yes! The unfrosted layers can be wrapped tightly and stored at room temperature for up to 2 days or frozen for up to 3 months. Frost just before serving for best results.
- → Why is my red velvet not red enough?
Traditional red color develops from the reaction between cocoa and acidic ingredients. Modern versions rely on food coloring. Gel coloring provides more vibrant results than liquid.
- → What's the best way to store this cake?
Keep refrigerated in an airtight container for up to 5 days. Bring to room temperature 30 minutes before serving for the best texture and flavor.
- → Can I use natural food coloring?
Beet juice or pomegranate juice can work, though the color may be more muted than artificial options. You'll need approximately 1 cup of juice for a vibrant hue.
- → What makes the texture so velvety?
The combination of buttermilk, oil, and vinegar creates an exceptionally tender crumb. The oil keeps it moist while buttermilk adds softness and subtle tang.